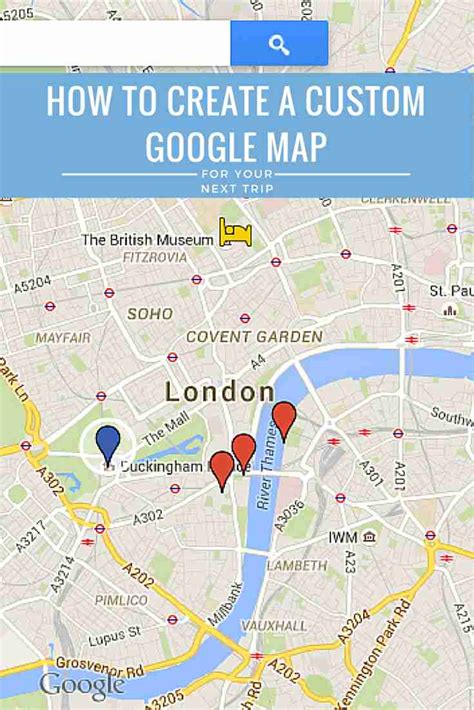
How To Make A Custom Map In Google Maps

Creating a custom map in Google Maps is a powerful tool for organizing and visualizing locations of interest, offering a personalized mapping experience. This guide will walk you through the process, highlighting the benefits and potential applications of custom maps. By the end, you'll have the knowledge to craft your own map, catering to your specific needs and interests.
Understanding Custom Maps

Custom maps, an underutilized feature in Google Maps, allow users to create personalized map layers on top of the standard map. This means you can pinpoint and categorize locations, add notes and images, and even share your map with others. Whether you’re planning a road trip, mapping out client locations for a business, or creating a guide for a specific area, custom maps provide a versatile and engaging way to visualize and share geographical information.
The Benefits of Custom Maps
- Organization: Custom maps provide a structured way to manage and categorize locations, ensuring important places are easily accessible.
- Visual Appeal: By adding markers, lines, and shapes, custom maps offer a visually appealing representation of data.
- Collaboration: With sharing options, custom maps can be a collaborative tool, allowing multiple users to contribute and edit.
- Flexibility: From planning trips to managing field work, custom maps adapt to various use cases.
Real-World Applications
The applications of custom maps are vast. Here are a few scenarios where custom maps can be particularly useful:
- Travel Planning: Marking must-see attractions, restaurants, and hotels for an upcoming trip.
- Business Operations: Mapping client locations for efficient route planning and sales territory management.
- Research Projects: Plotting and analyzing data points for environmental, historical, or sociological studies.
- Community Engagement: Creating a community resource map with local amenities, services, and event venues.
Step-by-Step Guide to Creating a Custom Map

Creating a custom map in Google Maps is straightforward. Follow these steps to get started:
Step 1: Access the Custom Map Editor
- Open Google Maps on your preferred device.
- Click on the menu icon (usually three lines) in the top left corner.
- Select “Your places” from the menu.
- Choose “Maps” from the submenu.
- Click “Create Map” to start a new custom map.
Step 2: Add Markers and Labels
To add a marker to your custom map:
- Click on the location you want to mark.
- A marker will appear. You can drag it to the exact location.
- Add a title and description for the marker.
- You can also add images and links to enhance the marker’s information.
Step 3: Customize Map Styles
Google Maps offers various styles to customize the appearance of your map. You can choose from:
- Light Mode for a classic map style.
- Dark Mode for a sleek, modern look.
- Terrain Mode for a more detailed, topographical view.
- Satellite Mode for a realistic, aerial perspective.
Step 4: Share and Collaborate
Once your custom map is complete, you can share it with others for collaboration or public viewing. Here’s how:
- Click on the menu icon in the top left corner of your custom map.
- Select “Share or embed map”.
- Choose “Get link” to share the map via a link.
- Or select “Embed on my site” to embed the map on a website.
Advanced Features: Lines, Shapes, and More
Beyond markers, Google Maps offers additional tools to enhance your custom map:
- Lines: Create routes or mark boundaries by drawing lines on the map.
- Shapes: Add circles, rectangles, or polygons to highlight specific areas.
- Labels: Text labels can be used to name or describe map features.
- Layers: Organize your map by creating and managing multiple layers of information.
Custom Map Best Practices
To ensure your custom map is effective and user-friendly, consider these best practices:
- Clear Labels: Use descriptive titles and labels for markers and shapes.
- Consistent Styling: Maintain a consistent color scheme and marker style throughout the map.
- Detailed Information: Provide comprehensive descriptions and images for each marker.
- Regular Updates: Keep your map up-to-date, especially if it’s for ongoing projects.
Conclusion: The Power of Custom Maps
Custom maps in Google Maps offer a dynamic and engaging way to visualize and share geographical information. Whether for personal travel planning, business operations, or community engagement, custom maps provide a versatile tool to organize and present location-based data. By following the steps outlined in this guide and incorporating best practices, you can create custom maps that are not only functional but also visually appealing and informative.
Can I create multiple custom maps and organize them in Google Maps?
+Absolutely! Google Maps allows you to create an unlimited number of custom maps. You can manage and organize them by naming and color-coding each map for easy identification.
How do I collaborate on a custom map with multiple users?
+To collaborate, share the map with others by generating a link or embedding it on a shared website. Collaborators can then add, edit, and delete markers, lines, and shapes as needed.
Are custom maps accessible on mobile devices?
+Yes, custom maps are fully accessible on mobile devices. You can create, edit, and view custom maps on the Google Maps app for iOS and Android.
Can I add my own photos to custom map markers?
+Absolutely! When adding a marker, you have the option to upload your own images, making your custom map more visually engaging and personalized.


